Showing posts with label Simple Stories. Show all posts

Monday, May 6, 2024

Double Page Layout Using Simple Stories Simple Vintage Spring Garden

 Hello everyone! I have two double page spreads to share with you today using the Simple Stories Simple Vintage Spring Garden Collection. I also continued with the Easter theme from my last post. Get ready for some flowers, bunnies and butterflies. 


For the first layout I distressed a variety of papers to layer under the photos. I used some of the cut-apart cards in the paper pack for journaling. 


I also cut-apart some tags and attached some string from my stash. Finally, I embellished the layout with butterfly bits and piecescardstock titleschipboard stickersfoam stickers and enamel dots

My second layout uses the frames to the max. Even though they have embellishments incorporated, I added more for dimension. 

I added some bunnies and butterflies using a variety of embellishments - bits and pieces, chipboard stickers and foam stickers. 


I finished it off with some enamel dots and cut apart cards with twine bows. 


Thanks for stopping by today and make sure to take a peek in the shop!

Monday, March 18, 2024

Simple Stories Simple Vintage Spring Garden

 Hello everyone!

I have two layouts for you today using the Simple Stories "Simple Vintage Spring Garden" Collection. I managed to use some Easter pictures as there are bunnies and eggs on some of the papers!


I began this layout with one of the premade chipboard frames. I selected a title from the foam sticker pack and propped it up with some extra foam adhesive on the back. The cut file is free on the Scrapbooks and Cards Today blog. I cut the white outline first and then erased the outline of one bunny so I was left with just the inside. I copied and pasted those two pieces 16 times and then cut out the blue paper. This was so much easier than trying to back the white frame! I suppose I could've cut the blue sheet as one piece and laid the white outline on top but I didn't want to risk the paper tearing while cutting. I had some trouble with the white paper because it wasn't thick enough. I used blade level 4, force 33 and speed 4 with overcut. It worked really nicely on the blue paper because it came off as one piece but I was able to pop each piece out without any tearing. 


The tags are found on a cut apart paper in the paper pack. I used some chipboard stickers and a cardstock sticker to embellish the tag. 


The finishing touches were a chipboard bunny over a bits and pieces flower and enamel dots on the frame and bunny bows. 


The second layout uses this really pretty background paper from the kit. The scallop is a sticker on the cardstock sticker page in the kit. 


The pictures are matted with pieces from the manufacturer strips on several papers. 


I also cut apart some tags to matte the bottom right photo and the journaling card. I fussy cut the flowers and used lots of bits and piecesfoam stickers and cardstock stickers to embellish the page. The doily and the embroidery thread were the only pieces from my stash.


That's all for now. I'll be back again in a few weeks with a two-page spread.
Have a great day!

Wednesday, December 6, 2023

More Scrap Shotz layouts using the Simple Stories Simple Vintage Tis the Season Collection

  Hello again! I'm back with more of the Simple Stories "Simple Vintage 'Tis the Season" Collection from Scrap Shotz. Get ready for lots of embellishments!


The first layout uses one of the patterned papers as a border with some black cardstock around the inside. I noticed there were three journaling cards that all had similar brown paper with bits a pieces layered in behind. I added a few more to each card and added my text. The remainder of the layout has foam stickerschipboard pieces and brads to create clusters. 


The second layout uses one of the premade background papers. I tried to layer chipboard pieces behind the photos and in the corner clusters. The kit has an entire paper of cut apart tags from which I've used three to decorate the page. A little twine from my stash makes them look finished. My last task was to splatter black paint around the pictures. 

That is all for today. Have a scrappy day!

Monday, December 4, 2023

Scrap Shotz - Simple Stories Simple Vintage Tis the Season Layouts

  Happy December everyone! I have two Christmas layouts today using the Simple Stories - Simple Vintage 'Tis the Season Collection from Scrap Shotz. This collection has all the Simple Stories staples - ready-to-go background papers, cut apart tags, cut apart journaling cards and patterned papers for layering. 


The first layout uses a patterned paper as a frame. I cut out the striped paper to make an outside frame for another layout and cut a second frame from the leftover paper. I don't usually put a frame on my layouts like this, but it definitely created a look I would try again. The brown distressed papers on the left hand side are from the cut apart cards. On the right-hand side I tried to do a similar look with a different paper. I used brown ink to make it looked distressed and match the other side.

The big floral picture is actually a large piece of chipboard. These are great for filling the negative space on a layout. Another feature are the foam stickers. They were used for some of the flowers and titles to add some dimension. I also used some cardstock stickers that are in the paper kit. The final touch was to spatter some white gesso with a bit of water added to it.


My second layout uses a premade background paper. I was looking for a way to not always frame all my pictures, so I used photo corners from my stash. I also used a few doilies from my stash to add dimension. The trickiest part of the layout was to try to get the lantern as part of the image cluster on the bottom right. First, I fussy cut it from a different paper, then I cut through the background paper and tucked the lantern behind the white flower. The stickers are a variety of cardstock and foam stickers and a few foam-backed brads. Lastly, I splattered some watered down white gesso. 

That's all for today, but I'll be back on Wednesday with two more layouts!

Wednesday, October 4, 2023

Scrap Shotz Simple Stories "Here and There" Layouts

 Hello! Today I have two scrapbook layouts featuring the Simple Stories "Here and There" Collection.

If you did any traveling recently, this will be the collection for you! The main colours are dark blue, dark orange and pink. They really make light and bright pictures jump off the page. The shop has the kit and many embellishments available.


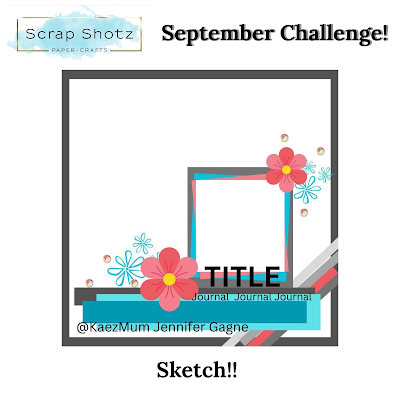
The first layout was inspired by the September challenge sketch in the Scrap Shotz Facebook group. I tend to have a hard time leaving white space on a page so this sketch was good for forcing me to use only one corner of the paper. 

To start, I double matted my photo. Then I cut some strips of paper and used a cardstock sticker for the strips at the bottom. The diagonal paper came in the kit but I added a piece of ribbon for dimension. The flowers are fussy cut from one of the papers. The rest of the embellishments are chipboard stickers or cardstock stickers. The final touch was to use a white pen to journal and then splatter some gesso.


My next layout was built around the title. I used my Silhouette Cameo to weld together the letters from the font. I backed each letter with a different colour from the striped paper in the kit. It always takes me so long to do but it was worth it. This page has more cardstock stickers for embellishments. I kind of cheated with the photo matting and just put strips of paper down the sides of the photos. Overall, I'm glad I got three more large pictures from our Wisconsin Dells trip on a layout!

That's all for today. Have fun scrapping!

Tuesday, August 1, 2023

Simple Stories Retro Summer Layouts

 Hello everyone! I have some super fun layouts to share with you today using the Simple Stories "Retro Summer" collection from Scrap Shotz. This kit was so easy to work with and I only had the 12 x 12 Collection Kit. There are so many elements that can be cut apart to make embellishments, the kit can go a long way. If you have any pictures of swimming or cold drinks, this is the kit for you!


The first layout uses this sunshine paper. I debated adding some stitching to the sun rays but decided to do something different and make dots with Liquid Pearls and Nuvo Drops from previous kits. Much faster than stitching! 


The kit has cut apart cards and cut apart tags which I used for the background layers. The sticker sheet in the kit has all the embellishments. The final touch was a title made from some older Amy Tangerine Thickers.


The second layout uses all those Pandemic ice cream pictures (since that was one of the only things you could do). The background is one piece of paper but I chose to make the ice cream dripping off the top stand out by lining it with some yellow and white twine. I also used some Studio Katia Polymer Clay Rainbow Dots from a previous kit to cover the round sprinkles. I can't believe how the colours matched perfectly. They added a nice three dimensional element to the page. 


The rest of the layout uses a cut apart card for the journaling and stickers from the kit for embellishments.


The final layout again uses one piece of paper for the background. I decided to jazz it up by gluing sequins around the pool to make it look like stone. 


The rest of the layout is made with layers of papers and stickers from the kit. 

There you have it! I hope you get a chance to play with this fabulous collection!

Friday, June 30, 2023

Boho Sunshine by Simple Stories at Scrap Shotz

Wow, it is July already! It is so nice to be scrapping again. I'm excited to show you the Simple Stories Boho Sunshine Collection. It is cute and playful and perfect for scrapping pictures of my 11-year-old.


My first layout has a background made from distress inks that were applied with a dry sponge. The butterflies were fussy cut and glued to their corresponding colour. 


The black lines were drawn by hand. The embellishments all came from the cardstock sticker sheet in the main kit or the bits and pieces die cuts floral pack


My next layout uses two pieces of paper. I cut a square out of the center of one paper and set it off-center. Then I backed the frame with the second paper. The picture is surrounded by papers that were leftover from the frame backing. I used a chain stitch to sew around the frame using white embroidery thread. 


The title and butterfly are pieces of chipboard. The flowers and hearts are from the bits and pieces pack. The subtitle is a cardstock sticker and the clay circle embellishments are from Studio Katia from an older kit. I used an older blue Stickles paint for the centers of the flowers. 


This collection has some premade frames that make it easy to highlight a picture. I liked how this frame matched the paper. There are also some cut-apart cards in the paper pack which are perfect for journaling. 


My final layout was fun to make. The paper kit has one sheet with tags on both sides. I cut them all apart and then chose the ones that looked best horizontally. I printed my pictures using the collage feature in Picasa. It allowed me to print 4 pictures on one 4x6 print. I backed them with some yellow paper. Then I used the bits and pieces, chipboard and cardstock stickers to embellish and found some string in my stash. 


The final touch was to doodle around the tags with a black pen.


I also had the chance to make a card. They are not something I usually make but I had a wedding shower to attend. I used a piece of Bazzill cardstock from a previous kit. The embellishments are from the bits and pieces pack and cardstock sticker. The title was cut out from a paper in the kit. I used thread to sew the letters to the rainbow. It was a little tricky to try to get the letters to hang with just the right amount Finally, I used some Nuvo drops to highlight the center.

I hope this offered you some inspiration to get crafty with the Boho Sunshine Collection.  

Tuesday, September 20, 2022

More Simple Stories Simple Vintage Lakeside Layouts for Scrap Shotz

 I'm back again to give you even more inspiration with the Scrap Shotz September kit featuring the Simple Stories Simple Vintage Lakeside Collection. I'm pumped that I was able to scrap even more pictures from our lake time a few summers ago. It's so nice when the same collection can cover a lot of pictures that are all together in an album. 


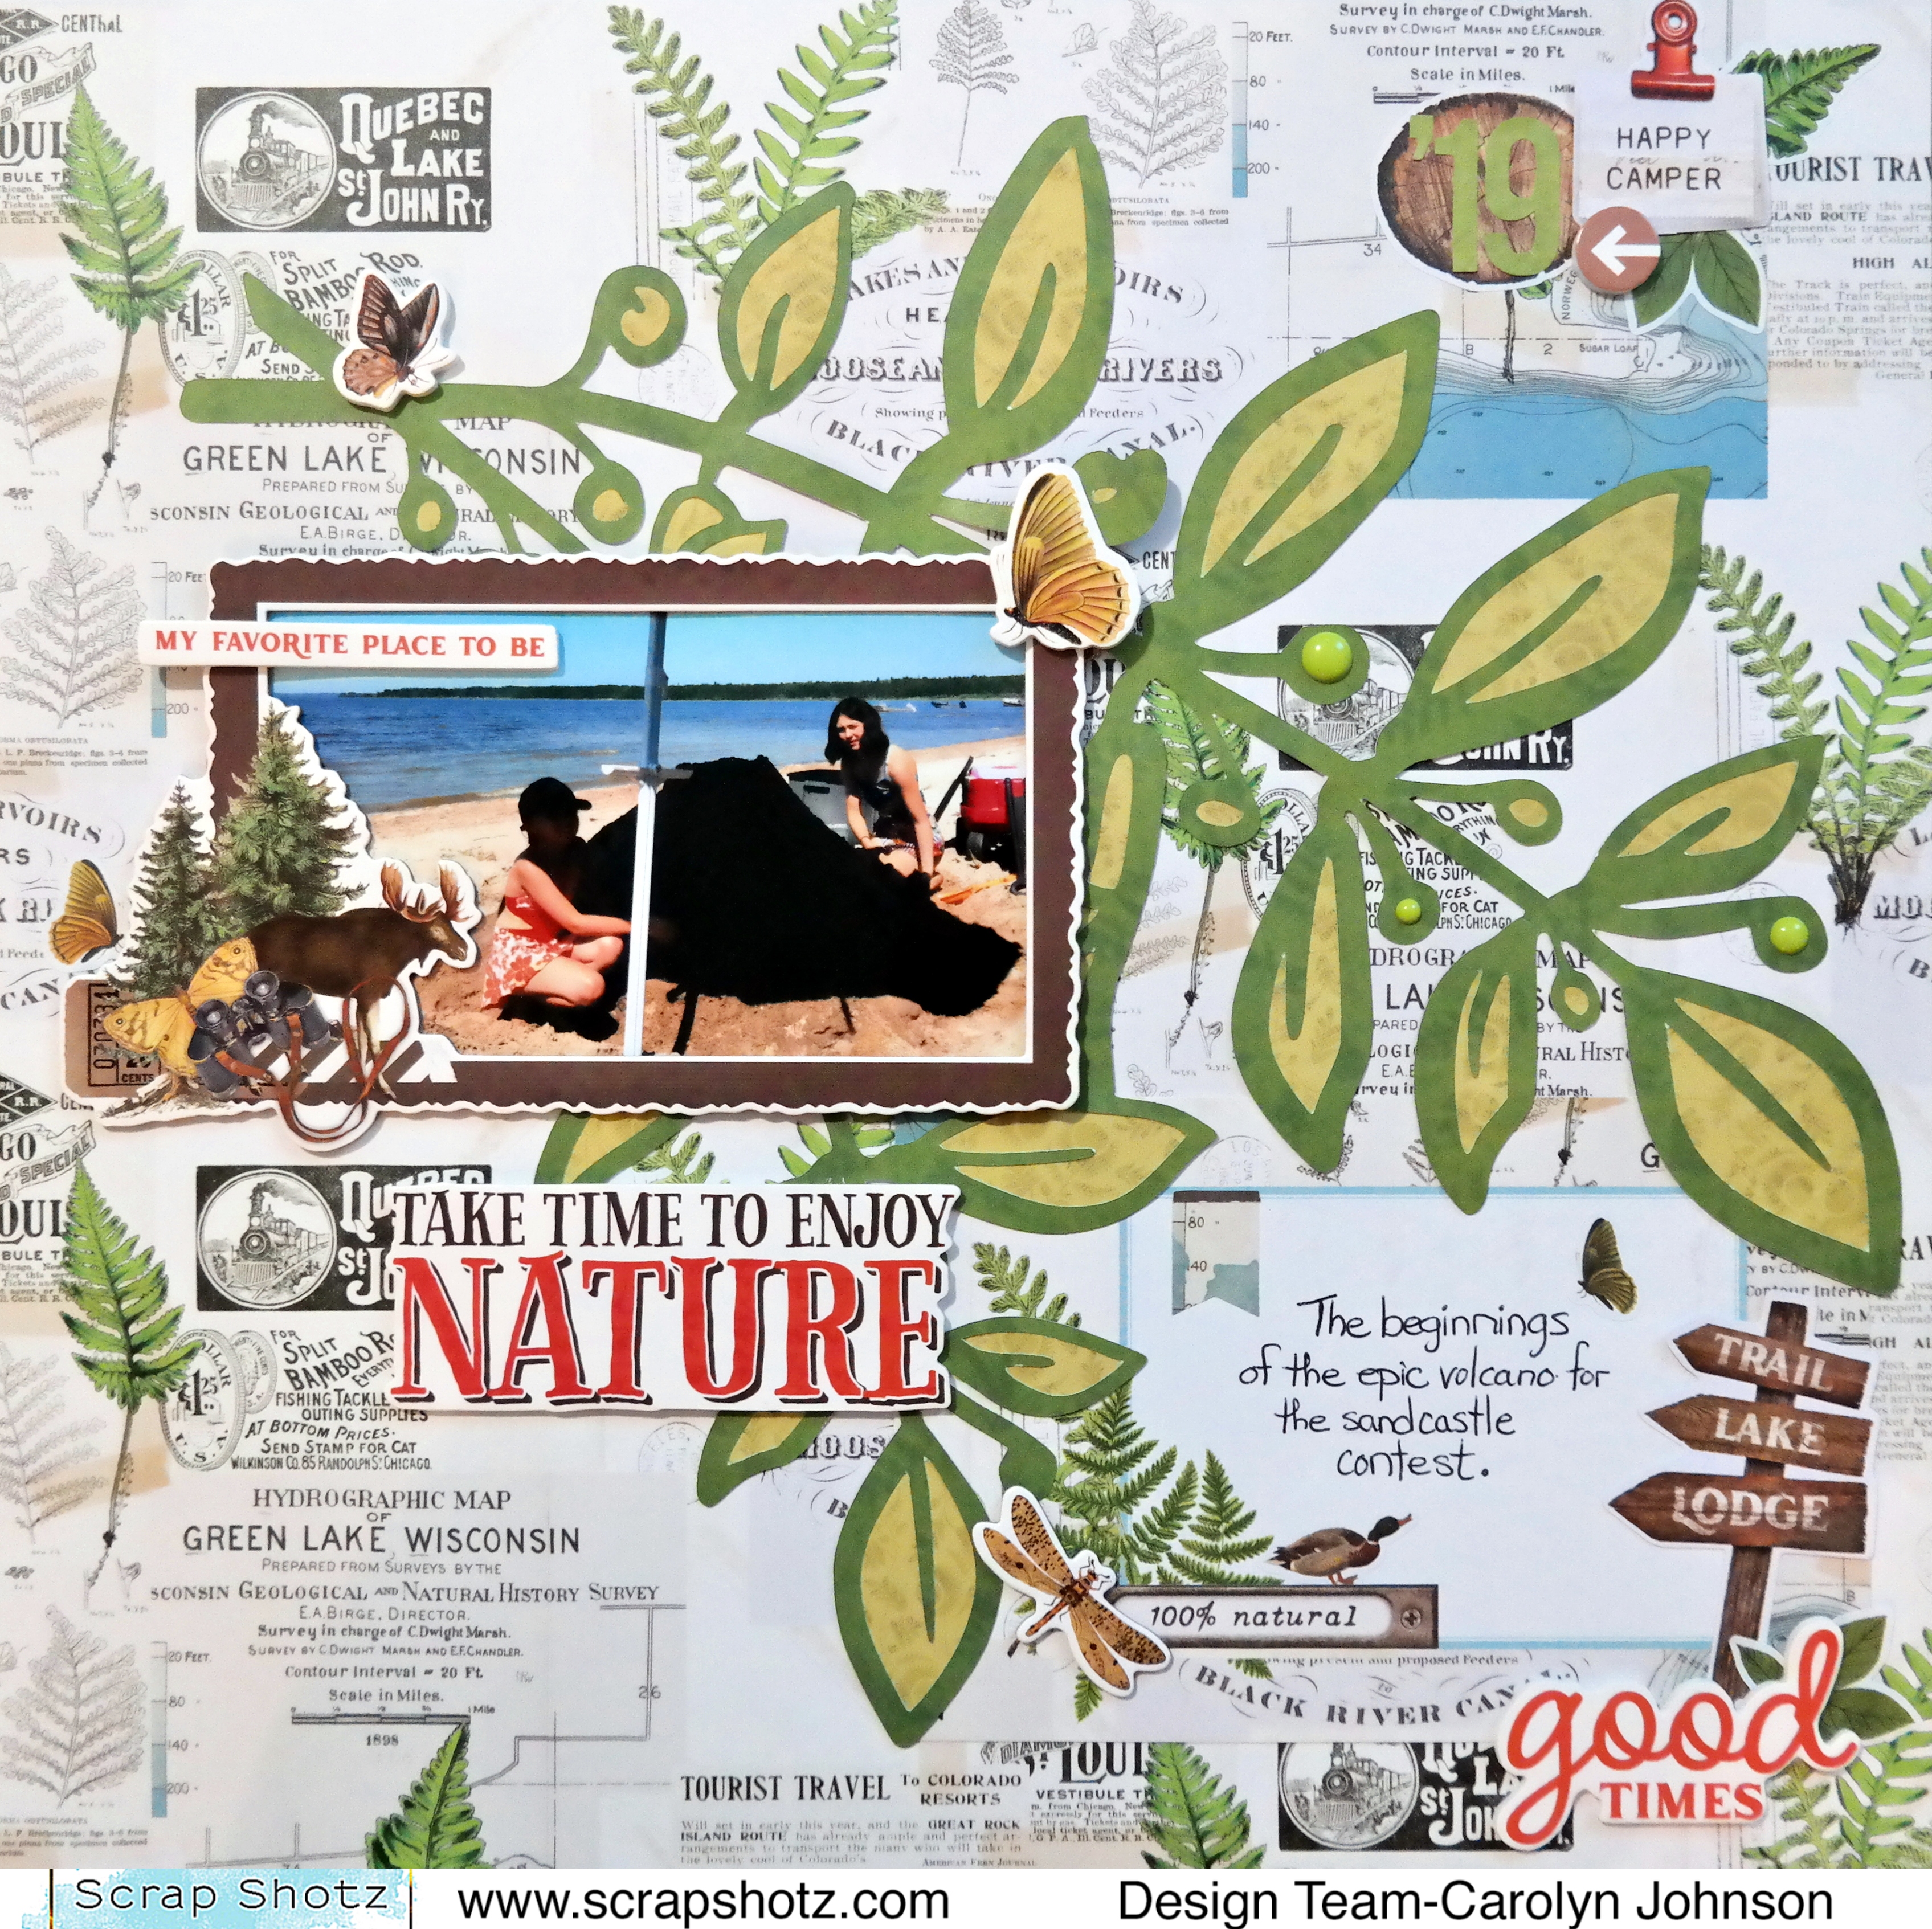
For this layout, I decided to use a cut file I found in the Silhouette Store. I cut the dark green paper and then backed the leaves by hand with light green paper. I debated putting some white gesso behind the cut file but decided that I wanted more of the background to show through. 


I love the frames that came in the kit so I had to use another one. The journaling is on a cut-apart card that has the same background so it blends nicely. The embellishments are foam stickerscardstock stickers, sticker book stickers, bits and pieces and enamel dots. 


This layout was pretty easy to make - just lining up the photos was the hardest part. I used the sticker book for the title. There are 3 sets of alphas in it. I layered a variety of cardstock, foam and sticker book stickers to embellish the pictures. The journaling is on a cut apart card that matches the background paper. 


Thanks for stopping by today! Have a scrappy day!

Friday, September 16, 2022

Simple Stories Simple Vintage Lakeside

 Hello everyone! I hope everyone enjoyed the summer. I sure did and what better kit for September than one to scrap all those photos! The September kit features the Simple Stories Simple Vintage Lakeside Collection. There is so much in this kit! The sticker book is a cool new product and add-on to work with. It just adds so many more options for embellishing.

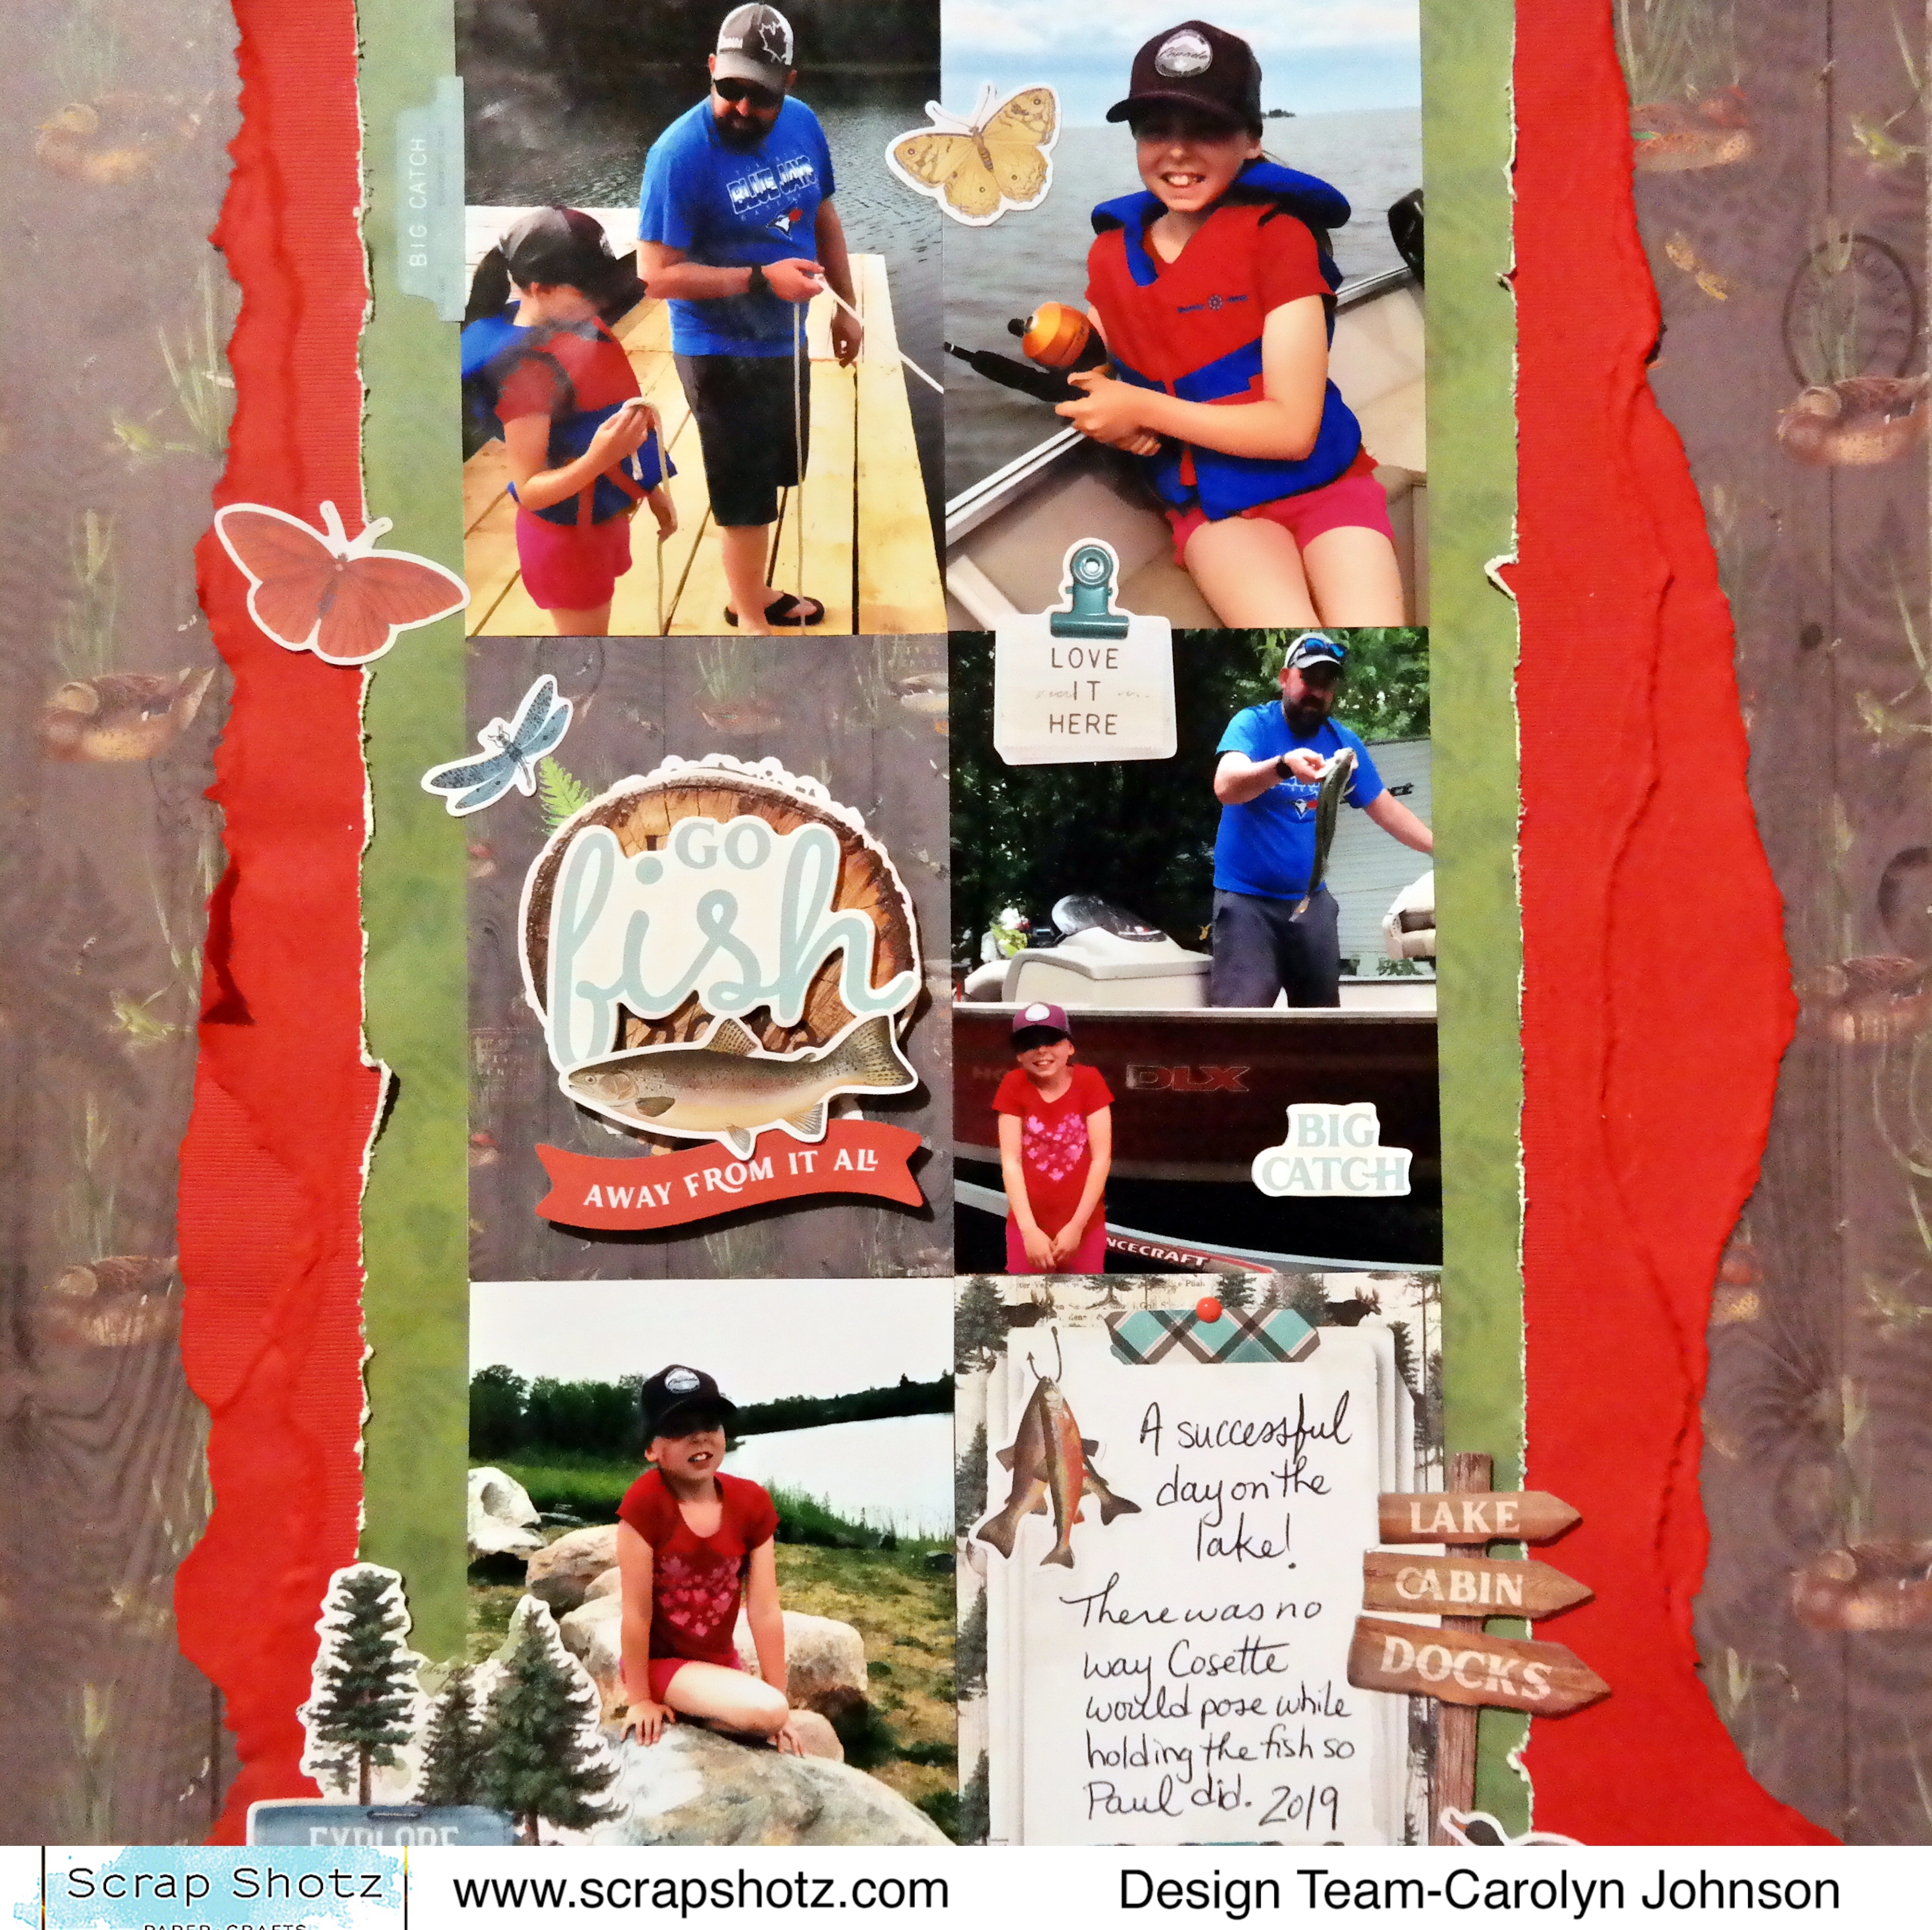
My first layout used the September sketch from Creative Scrapbooker Magazine's sketchy Facebook group. It gets a lot of pictures on the page and if you don't have enough pictures, there are lots of cut apart cards in the kit to choose from. 

I used two cut apart cards along with my pictures. One of them didn't have a design that I liked so I used some foam stickers and cardstock stickers to create a title over top of the original picture. I tore some of the cardstock in the kit to create the borders and just distressed the green border paper so the project didn't get too messy. I used a few stickers from the sticker book to finish off the layout.


My second layout I used one of the frames that came with the kit. I love premade frames! The border is from one of the papers in the kit and lots of the embellishments are in the bits and pieces pack. I clustered things in groups of three to make visual triangles. The enamel dots helped to add some variety in the size of embellishments. 


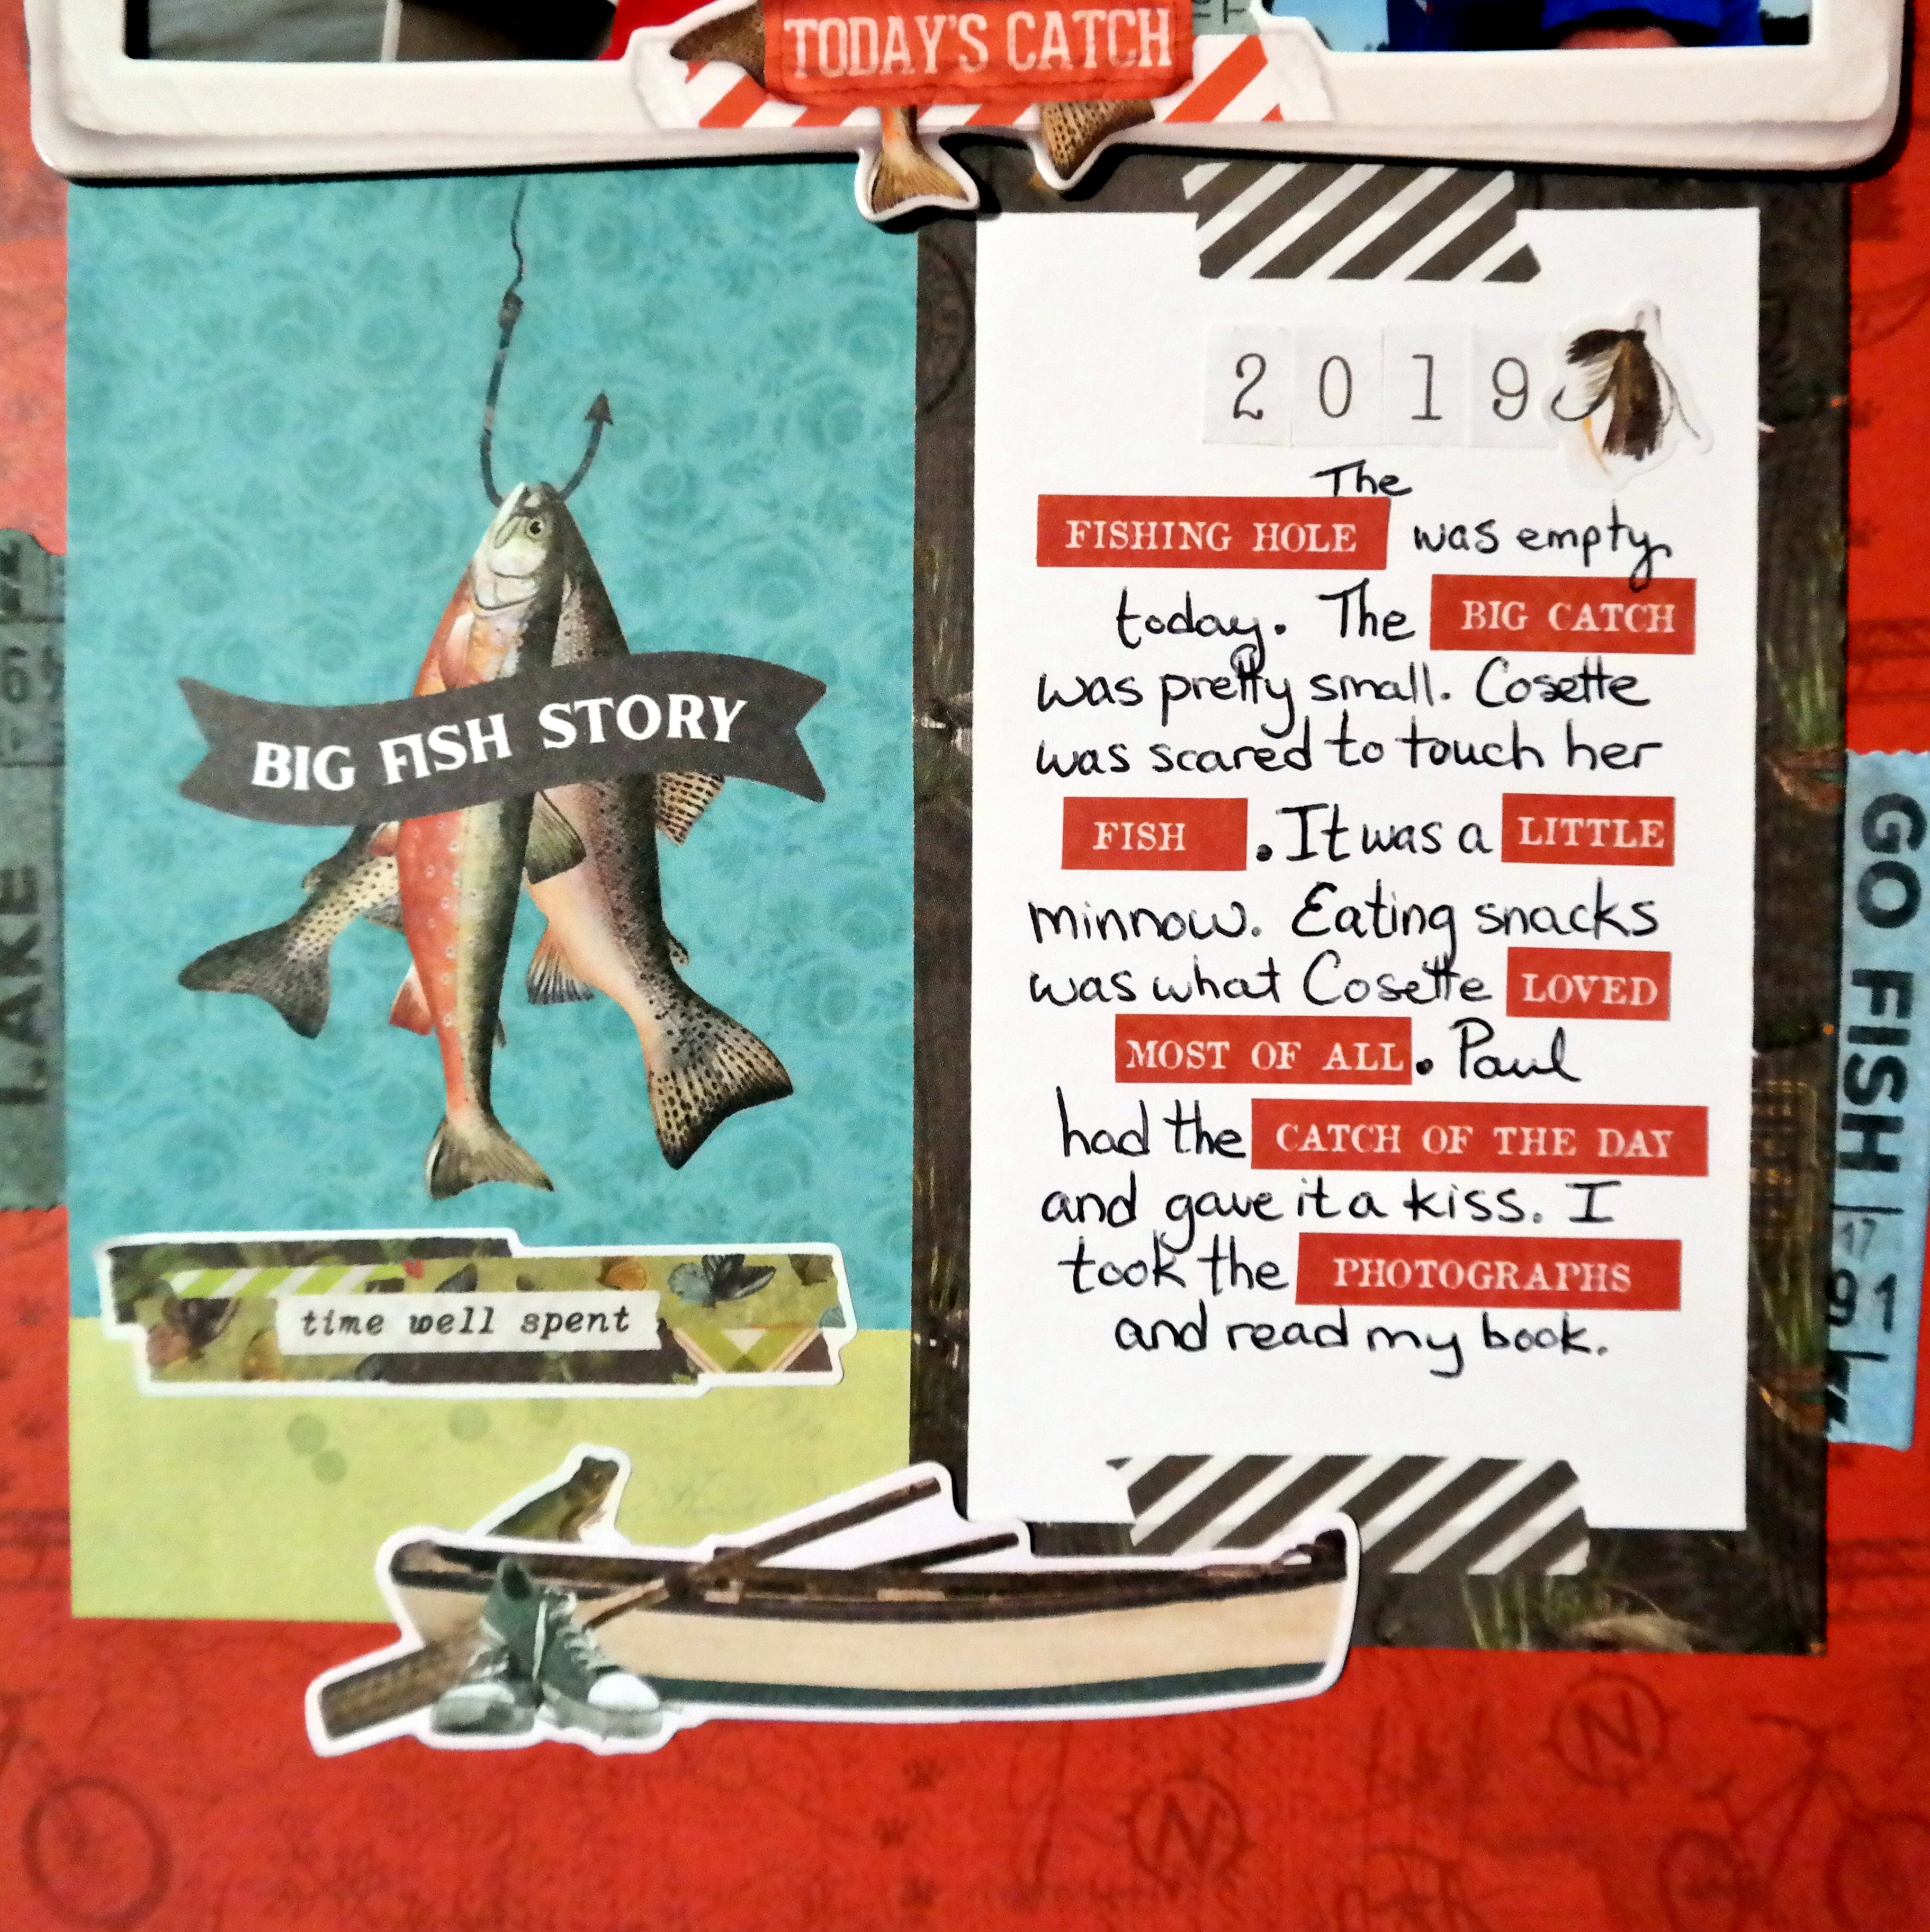
I tried to do something a little different with the journaling. I used some words from the sticker book amongst my journaling. A challenge but I think it worked!


Thanks for stopping by and have fun with your September kits!

Friday, June 3, 2022

Simple Stories Simple Vintage Indigo Garden Kit from Scrap Shotz

Hello everyone! I've been working with the March kit which features the Simple Stories Simple Vintage Indigo Garden Collection. I love indigo and flowers so this was the perfect kit for spring. If you missed out on this kit, there are still some available in the shop. 


For the first layout, I used one of the papers that already has all those flowers and butterflies. I cut a strip off each side and attached strips from another piece of paper. I tore some green and pink papers to put behind my photos. The rest is embellished with bradsfoam stickers and thread.


The second layout uses a little bit of everything! I used white gesso to cover two strips down the yellow paper. I tore two pieces of floral paper and glued them to the gesso. I used brown ink and a stamp from a previous kit to stamp the branches around the page. Next, I added the photos and the embellishments which included ephemera and cardstock stickers. I finished it off with some brown paint splatters.


The final layout uses one of the papers that already has flowers and butterflies printed in a circle. To add dimension, I layered more on top. I fussy cut several flowers and used a doily as a frame. I bent the edges of the flowers and butterflies so they lift off the page. This was a really fun layout to make trying to use all the different types of embellishments!

Thanks for stopping by! Have a great day!

Monday, November 29, 2021

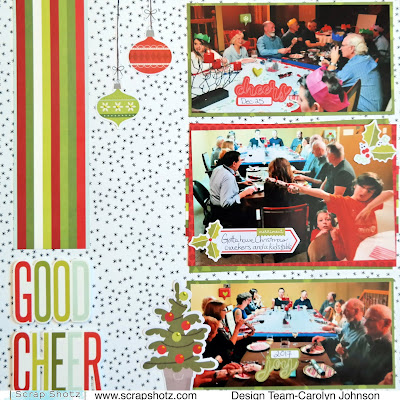
Simple Stories Make It Merry Layouts Part 2

 I'm back today with some more Christmas inspiration using the Simple Stories "Make It Merry" Collection. 


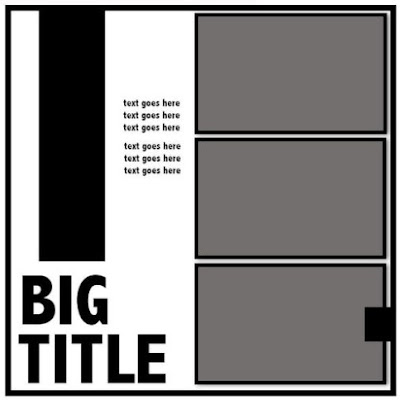
For this layout I used the October sketch from the Creative Scrapbooker Magazine Sketchy Facebook Group made by Kerry Engel. 
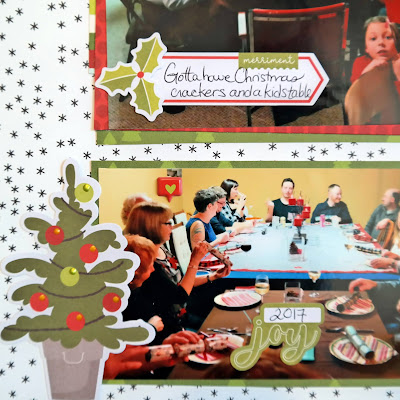
I was really drawn to the big title because there are so many amazing title foam stickers to choose from. It was really easy to make. I backed the photos with solid colours and added some of the paper with the stripes to the center photo. I used a variety of ephemerapuffy stickers and cardstock stickers. I also used a pen to extend the string on the ornaments and some Liquid Pearls to add dimension to the tree. 


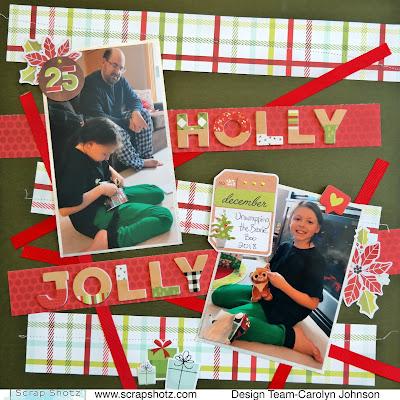
My second layout was inspired by the wrapping paper in the pictures. I tried to use strips of paper and ribbon to mimic a floor covered in wrapping. I used my sewing machine to add some texture. I layered ephemera in clusters and added some Liquid Pearls again. 


I hope we all get to have some in person Christmases this year! Make sure to pick-up this collection to scrap all those wonderful pictures.