Monday, April 25, 2022

Pinkfresh Happy Heart Layouts for Scrap Shotz

Hi friends! I'm here today to show you some layouts using the February Kit from Scrap Shotz. The kit features the Pinkfresh Happy Heart Collection. This collection has soft yellow, pink, green and blue features, perfect for all sorts of occasions. 


My first layout uses one of the papers as a frame for the layout and I cropped another paper a little bit smaller to fit in the frame. I outlined it with a black pen to make it pop. I used a circle cutter to trim my photos and my Silhouette Cameo to cut out the frames for the pictures. I wanted to keep with the circle theme so I added three of the wooden embellishments to create a visual triangle. I fussy cut three butterflies from one of the papers to create another visual triangle. 


Before I glued everything down, I splattered pink and black paint to add even smaller circles to the layout. I realized after gluing that there was an open spot so instead of trying to splatter more I used it for my journaling. The final touch was the titles. There are so many to choose from in this kit! 


My second layout dug into the title ephemera pack - big time! It was fun laying them on the paper trying to come up with a way to make them work together. Once I was happy with their placement, I looked for puffy stickers and ephemera that could fill the small gaps around the words. I didn't always  have something small enough, so I used some Nuvo drops and Stickles from previous kits to make some dots. 


Thank-you for stopping by the blog today. I'll be back later this week with three more layouts to share. 

Sunday, February 20, 2022

Echo Park Day in the Life Traveler Notebook for Scrap Shotz

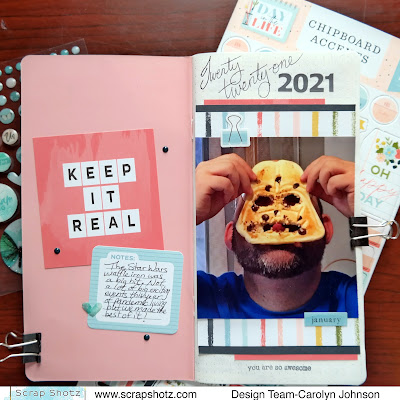
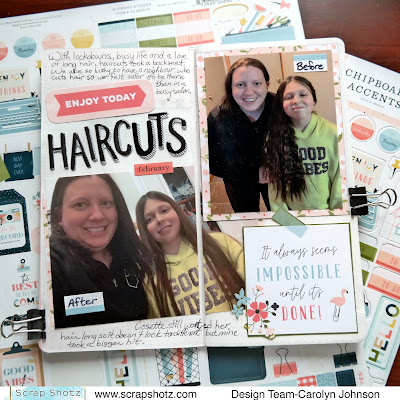
 Hello! I've been playing with the January kit featuring the Echo Park "Day in the Life" Collection. This collection has all the usual fun papers and embellishments but it is also perfect for a planner or traveler notebook. I have so few pictures from 2021 due to the pandemic that I can probably do a traveler notebook for most of the year! 


Is it bad that this was the only picture that I had from January?! We gave my husband a Star Wars waffle iron for his birthday so we enjoyed playing with our waffles. All the papers in the collection have cut apart cards on the back that correspond to each month. The tag that says "Keep it Real" is a cut apart card. The journaling is on a card from the ephemera pack. I also added some cardstock stickers and enamel dots. The date and stamping are from an older kit. The heart is from a 49th and Market sticker pack that comes with the kit.


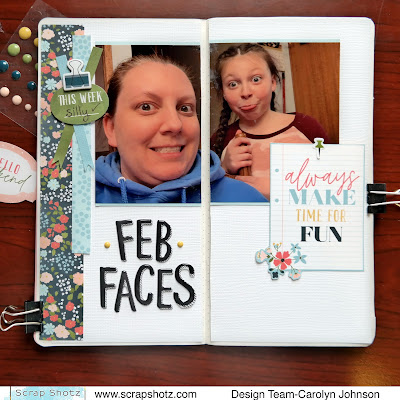
I'm in love with the "Sunny Days" Thickers! They are so playful. This page uses a fussy cut card, some cardstock stickers and ephemera.


I find that cutting pictures and leaving them spaced a little bit across the gutter helps to close the book. Which is also necessary when adding chipboard to the page. I used some of the Bazzill white textured cardstock as the background. 


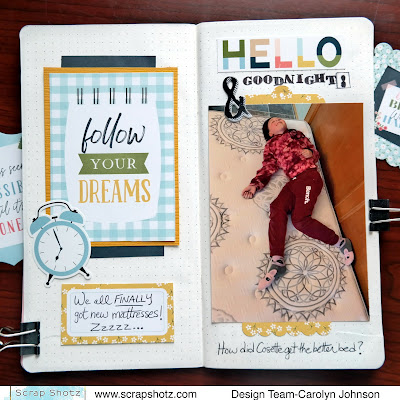
My daughter thought it was pretty fun to try out the new mattress in the living room. I used some amber colour Bazzill textured cardstock, cut apart card, cardstock stickers and ephemera. The stamps I dug out of my collection.


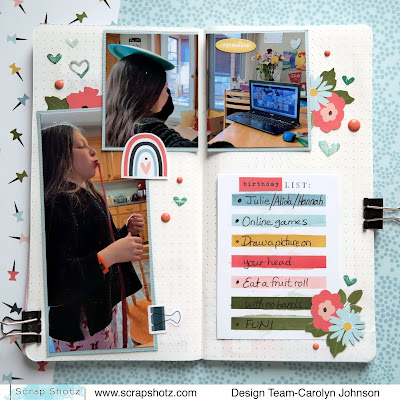
This page is showing how birthdays were celebrated all year - on Zoom! I fussy cut the flowers rainbow and used more of those pretty 49th and Market stickers. The photos are matted with Bazzill textured cardstock Coastal colour.


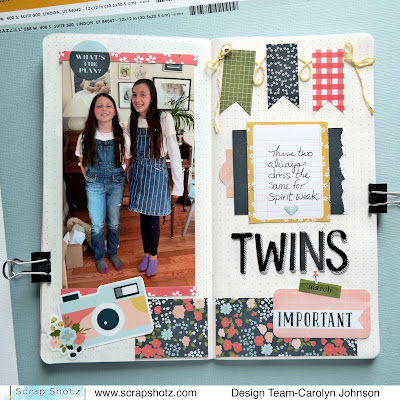
My last spread uses lots of ephemera and stickers and some twine from my stash. 

It was fun playing on a different sized surface than my usual 12x12. I hope you've been inspired! Thanks so much for stopping by!

Monday, January 10, 2022

Carta Bella Welcome Winter Scrapbook Layouts Part 2

Welcome to part 2 of the Carta Bella "Welcome Winter" Collection from Scrap Shotz. My first layout was so fun to make with a scarf cut file.

I backed the file with pictures and a couple different papers. The actual scarf is Bazzill "Smoky" cardstock. The skis are chipboard and the center square is a title cut from a piece of paper. The wreath and a couple stickers at the bottom are puffy stickers. The sleigh is a cardstock sticker. I wanted to use the brown letters from Doodlebug "Sunshine" (BonBon colour) but the background paper was too dark. So I covered a piece of chipboard with white paper since the saying underneath had nothing to do with my project. 

I had some twine left over so I taped pieces to the back of the scarf. It has so much more interest now. The final step was to splatter some white paint in line with the scarf tail to add some movement. 

This second layout is pretty simple but has lots of layers.

I used the Bazzill Smoky cardstock that came in the kit to border the lined paper at the bottom. The flags I made by tracing flags that came in the ephemera pack. The title was in the ephemera pack and the stickers are a variety of cardstock, chipboard and puffy stickers. I also love adding twine to a layout so I'm so glad some came with the kit. 


Thanks for stopping by!

Thursday, January 6, 2022

Carta Bella Welcome Winter Scrapbook Layouts Part 1

Hello scrappy friends! I got to work with the Carta Bella "Welcome Winter" Collection this month. It is full of lots of basic background papers which I love as I always find those pages are the ones I use the most. There are also many pages with patterns and cut apart cards so this kit can easily be used for scrapbooks or cards. This kit is mainly dark and light blues, grey, brown and a forest green colour. Luckily, the weather was milder last year so I got a variety of snowy pictures to scrapbook. It's -43'C as I write this so I hope we get some warmer weather soon to get out of the house!

The first layout is like a picture-frame style. I bordered everything and used the manufacturing strips at the bottom of the pages to make a design at the bottom. 

The title is made with chipboard and twine. The ice skates are the same but one is a piece of chipboard and the other is a cardstock sticker. I used some foam behind the sticker so that it sits at the same height as the chipboard. The year was added using Doodlebug "Sunshine" stickers. I tagged the gold coloured ones but on the layout the colour is called Bon Bon. 

For my next layout, I used the December sketch from the Creative Scrapbooker Sketchy Facebook Group as inspiration. 


I layered a variety of papers and stickers and then used a cut apart card in the center. The kit came with a beautiful shiny silver paper which was a nice addition to the page. The kit also had the center snowflake embellishments from Creative Impressions which I layered together. I'm so happy I got these pictures scrapped because it was such a fun afternoon watching these two push their snowball 'baby' in the swing and on the sled. 

Thanks so much for stopping by! 

Monday, November 29, 2021

Simple Stories Make It Merry Layouts Part 2

 I'm back today with some more Christmas inspiration using the Simple Stories "Make It Merry" Collection. 


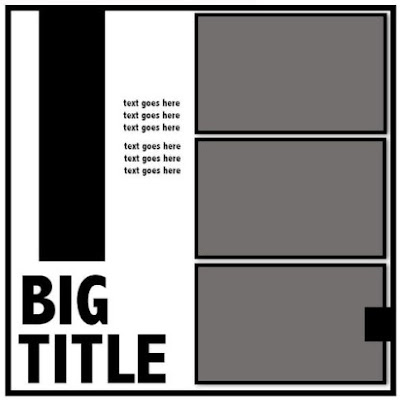
For this layout I used the October sketch from the Creative Scrapbooker Magazine Sketchy Facebook Group made by Kerry Engel. 
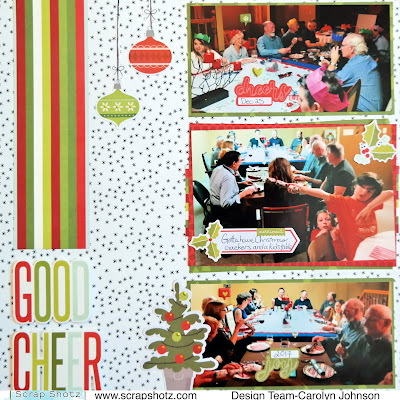
I was really drawn to the big title because there are so many amazing title foam stickers to choose from. It was really easy to make. I backed the photos with solid colours and added some of the paper with the stripes to the center photo. I used a variety of ephemera, puffy stickers and cardstock stickers. I also used a pen to extend the string on the ornaments and some Liquid Pearls to add dimension to the tree. 


My second layout was inspired by the wrapping paper in the pictures. I tried to use strips of paper and ribbon to mimic a floor covered in wrapping. I used my sewing machine to add some texture. I layered ephemera in clusters and added some Liquid Pearls again. 


I hope we all get to have some in person Christmases this year! Make sure to pick-up this collection to scrap all those wonderful pictures. 

Thursday, November 25, 2021

Simple Stories Make It Merry Layouts Part 1

 Hello everyone! It's been awhile - so much so I last posted summer layouts and now it's Christmas! This month I got to work with the Simple Stories "Make It Merry" Collection from SCRAP SHOTZ. It is so awesome. I love the colours and the good mix of background, embellishment and patterned papers. 


Let's start with my favourite layout. I used the November sketch in the Creative Scrapbooker Magazine Facebook Sketchy Group. 
I like how the boxes are tilted and not a perfect 3x3 grid that I would normally use. I had a screenshot of our Christmas morning which was printed on a 4x6 photo. When I cut each family picture apart they fit well in individual boxes. I used a white pen to doodle around the picture to add more interest and contrast. The embellishments are a variety of ephemera, cardstock, puffy and foam stickers. 


I was also able to cut out the letters I needed from one of the papers and use them on the foam stickers to make the title I wanted. 


For this layout I didn't cut the pictures apart so I could show how we were actually all online. I found a font I liked and used my Silhouette to cut out the numbers. I used the offset tool to make the outline for the numbers. The rest of the layout uses embellishments as listed above but also quite a few from the Simple Pages Page Pieces. It's a set of embellishments that could all be used to make a couple pages. I used them to build 2 visual triangles on the page. I made three clusters of similar size embellishments for each triangle. 


Thanks for stopping by! Happy scrapping!

Tuesday, October 12, 2021

Simple Stories Simple Vintage Coastal Layouts for Scrap Shotz

 Who went to the beach this summer? I sure did. This collection is perfect for scrapping those ocean, beachy, boating pictures. I got to play with the Simple Stories Simple Vintage Coastal collection available at Scrap Shotz. Below you will see examples of the bits and pieces die cut pack, chipboard stickers, brads and the foam stickers (my favourite!).


For the first layout, I used the July sketch from the Creative Scrapbooker Magazine Facebook Group. 

I like how the sketch pushed me to move my pictures to the outside of the page. I never would've done that myself. I just backed the photos with cardstock and added some stickers and embellishments. Oh Simple Stories, you make everything so simple!


My second layout looks like mixed media but Simple Stories did all the hard work for me. The background paper does all the heavy lifting. I just cut some of the palm tree branches out of the paper so I could layer my picture underneath. 


Then I layered stickers and embellishments and journaled at the top. The picture isn't matted but has the manufacturing strips down the sides.


My third layout has a few bits of torn paper but I have so many awesome goodies to play with, I just went to town layering them once again.


My final layout uses all the same techniques as the others but this time I used a stencil with texture paste on the background. I also splattered some sparkly paint.


Thanks for taking a peak! Have a great day!