Tuesday, October 12, 2021

Simple Stories Simple Vintage Coastal Layouts for Scrap Shotz

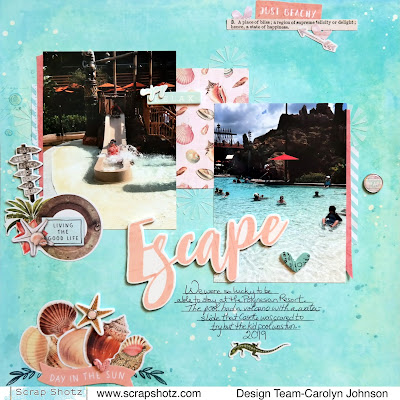
 Who went to the beach this summer? I sure did. This collection is perfect for scrapping those ocean, beachy, boating pictures. I got to play with the Simple Stories Simple Vintage Coastal collection available at Scrap Shotz. Below you will see examples of the bits and pieces die cut packchipboard stickersbrads and the foam stickers (my favourite!).


For the first layout, I used the July sketch from the Creative Scrapbooker Magazine Facebook Group

I like how the sketch pushed me to move my pictures to the outside of the page. I never would've done that myself. I just backed the photos with cardstock and added some stickers and embellishments. Oh Simple Stories, you make everything so simple!


My second layout looks like mixed media but Simple Stories did all the hard work for me. The background paper does all the heavy lifting. I just cut some of the palm tree branches out of the paper so I could layer my picture underneath. 


Then I layered stickers and embellishments and journaled at the top. The picture isn't matted but has the manufacturing strips down the sides.


My third layout has a few bits of torn paper but I have so many awesome goodies to play with, I just went to town layering them once again.


My final layout uses all the same techniques as the others but this time I used a stencil with texture paste on the background. I also splattered some sparkly paint.


Thanks for taking a peak! Have a great day!

Wednesday, July 21, 2021

Photoplay Snail Mail Thank-you Cards for Scrap Shotz

 Hello everyone! I'm so happy to be back scrapping and trying something that is a little out of my comfort zone. This month I'm playing with the Photoplay "Snail Mail" thank-you card collection pack from Scrap Shotz. I don't make a lot of cards but wow, having a kit made just for making cards sure does make it a lot easier! The colours are bright and the animals are so cute.

Card #1


I used a sketch from the winter issue of Scrapbook and Cards Today for inspiration. The yellow parts are stickers and the pink parts are Nuvo Drops

Card #2


This whole card is made from stickers except the piece of embroidery thread and the Nuvo Drops

Card #3


This card uses a combination of cardstock papers and stickers. The corner dots are Nuvo Drops and the center flower and frame are from the die cut pack

Card #4


This card uses three different papers and the flowers and windows are stickers. The Nuvo Drops are on the pink leaves. I also used the stamp set to stamp the T and U. 

Card #5


For this card I used a sketch on Pinterest from Queen and Company. The black is cardstock from my stash but the rest are papers and stickers from the kit. 

Card #6


This card uses some kit papers for the background and a cut-apart card. There is a picture of the same bird behind the sticker but I liked the dimension I could add with the sticker and some adhesive foam.  Nuvo Drops are in the corners.

Card #7


Two different papers make-up the background. The sentiment is in the die cut pack. The trim and grass are stickers. The bird is stamped and coloured with pencil crayon. One of these days I will learn to Copic colour!

Card #8


This card is two different papers and I used a punch to make the border. The sentiment is from the die cut pack. The bird and grass are from the sticker sheets. 

Card #9


I used my Colorshine paints to drip down the card using the stickers as a guide. I put clear gesso on the card first. The sentiment is from the stamp set

Thanks for checking out the cards! I hope you have a chance to check out this great set in the store!

Friday, June 11, 2021

Echo Park Let's Go Anywhere Layouts Part 2 for Scrap Shotz

 Hello friends. Carolyn back again for round 2 of the Echo Park "Let's Go Anywhere" Collection layouts. This is the May kit and it is fabulous!


Seriously - so many embellishments in this collection. It was so hard to pick what to use so why not use it all!? I'm a sucker for wood grain backgrounds so I had to use that paper. Then I laid the frames around the page until they fit. Next, I added tags and finished by squishing brads and stickers in the extra spaces. It is kind of busy with no dominant element so I used the Thickers in the kit to number the photos and direct the eye around the page. I love that little journaling card and had to use it. Bonus, it was printed on wood grain so I didn't have to fussy cut around the spirals of the notepad. I crossed my fingers that I had enough tiny pictures to fit those frames and I just made it. I propped up the frames with some foam backing. I'm so happy with this one!


For my next layout, I started with the three background papers and liked how they looked together. From there I chose these lobster pictures because of the red in the papers. I needed an interesting element so I looked through my cut files and had no lobster file! The horror! So I found a picture of a lobster and freehand drew it on a piece of scrap paper. When I was happy with it, I traced it onto the red paper and cut it out. I think he is pretty cute. I also propped the lobster up with foam pieces. I really wanted my title to be "You Are My Lobster" but it would've been too long so I used the "our" sticker instead and the Thickers in the kit. The layout is finished with some chipboard stickers, cardstock journaling card, enamel dots and ephemera

Thanks for stopping by!

Thursday, June 10, 2021

Let's Go Anywhere Layouts for Scrap Shotz

  Hello everyone! I'm back with some May kit inspiration from Scrap Shotz. Remember traveling? We took an amazing vacation to the Maritimes two years ago so the Echo Park "Let's Go Anywhere" collection was perfect to finally get some of these pictures scrapped. 


I think this is one of my all time favourite layouts. There are soooo many stickers and embellishments in this kit and I remembered that Melinda Spinks, who designs with Doodlebug, would always fill shapes with them. I decided to give it a try and I might have to do it again! It was so much fun even my daughter got into picking out the stickers and where to place them. I cut around the stickers so they were still on their backing so I could move them around until they fit. Otherwise, it was pretty simple to make. Backed a cutfile and wrote with a white pen on the cut apart card.


Another black background but this time I used this rectangular style. Mainly because my pictures were able to crop down to fit together so well. The Thickers are called Avenue and look really cool with the light shining off the gold highlights. This layout also used a variety of embellishments. The sticky brads are my favourite. There is also chipboard and cardstock stickers and some ephemera flags. I even put a whole row of enamal dots on there!

Thanks for taking a look at the layouts today. I'll be back on the 11th with some more!

Friday, May 21, 2021

Simple Stories Safe Travels Layouts for Scrap Shotz

  Hello scrappy friends. Today I have three layouts (and a bonus one) made with the Simple Stories "Safe Travels" Collection from Scrap Shotz. I love the bright colours and fun embellishments. Perfect for travel pictures with kids. 

Layout #1


I have this night picture from the plane so I thought I should use a black background. I backed the cut file plane with as many of the manufacturer's strips as I could. I had to cut into a few papers for the bigger sections. I used a glue pen to attach the pieces. The clouds were another cut file using white cardstock. I used yellow ink to blend some colour into the clouds and then sewed a white thread across the bottom. The embellishments are from the ephemera packpuffy stickerschipboard stickers and cardstock stickers.  


Layout #2


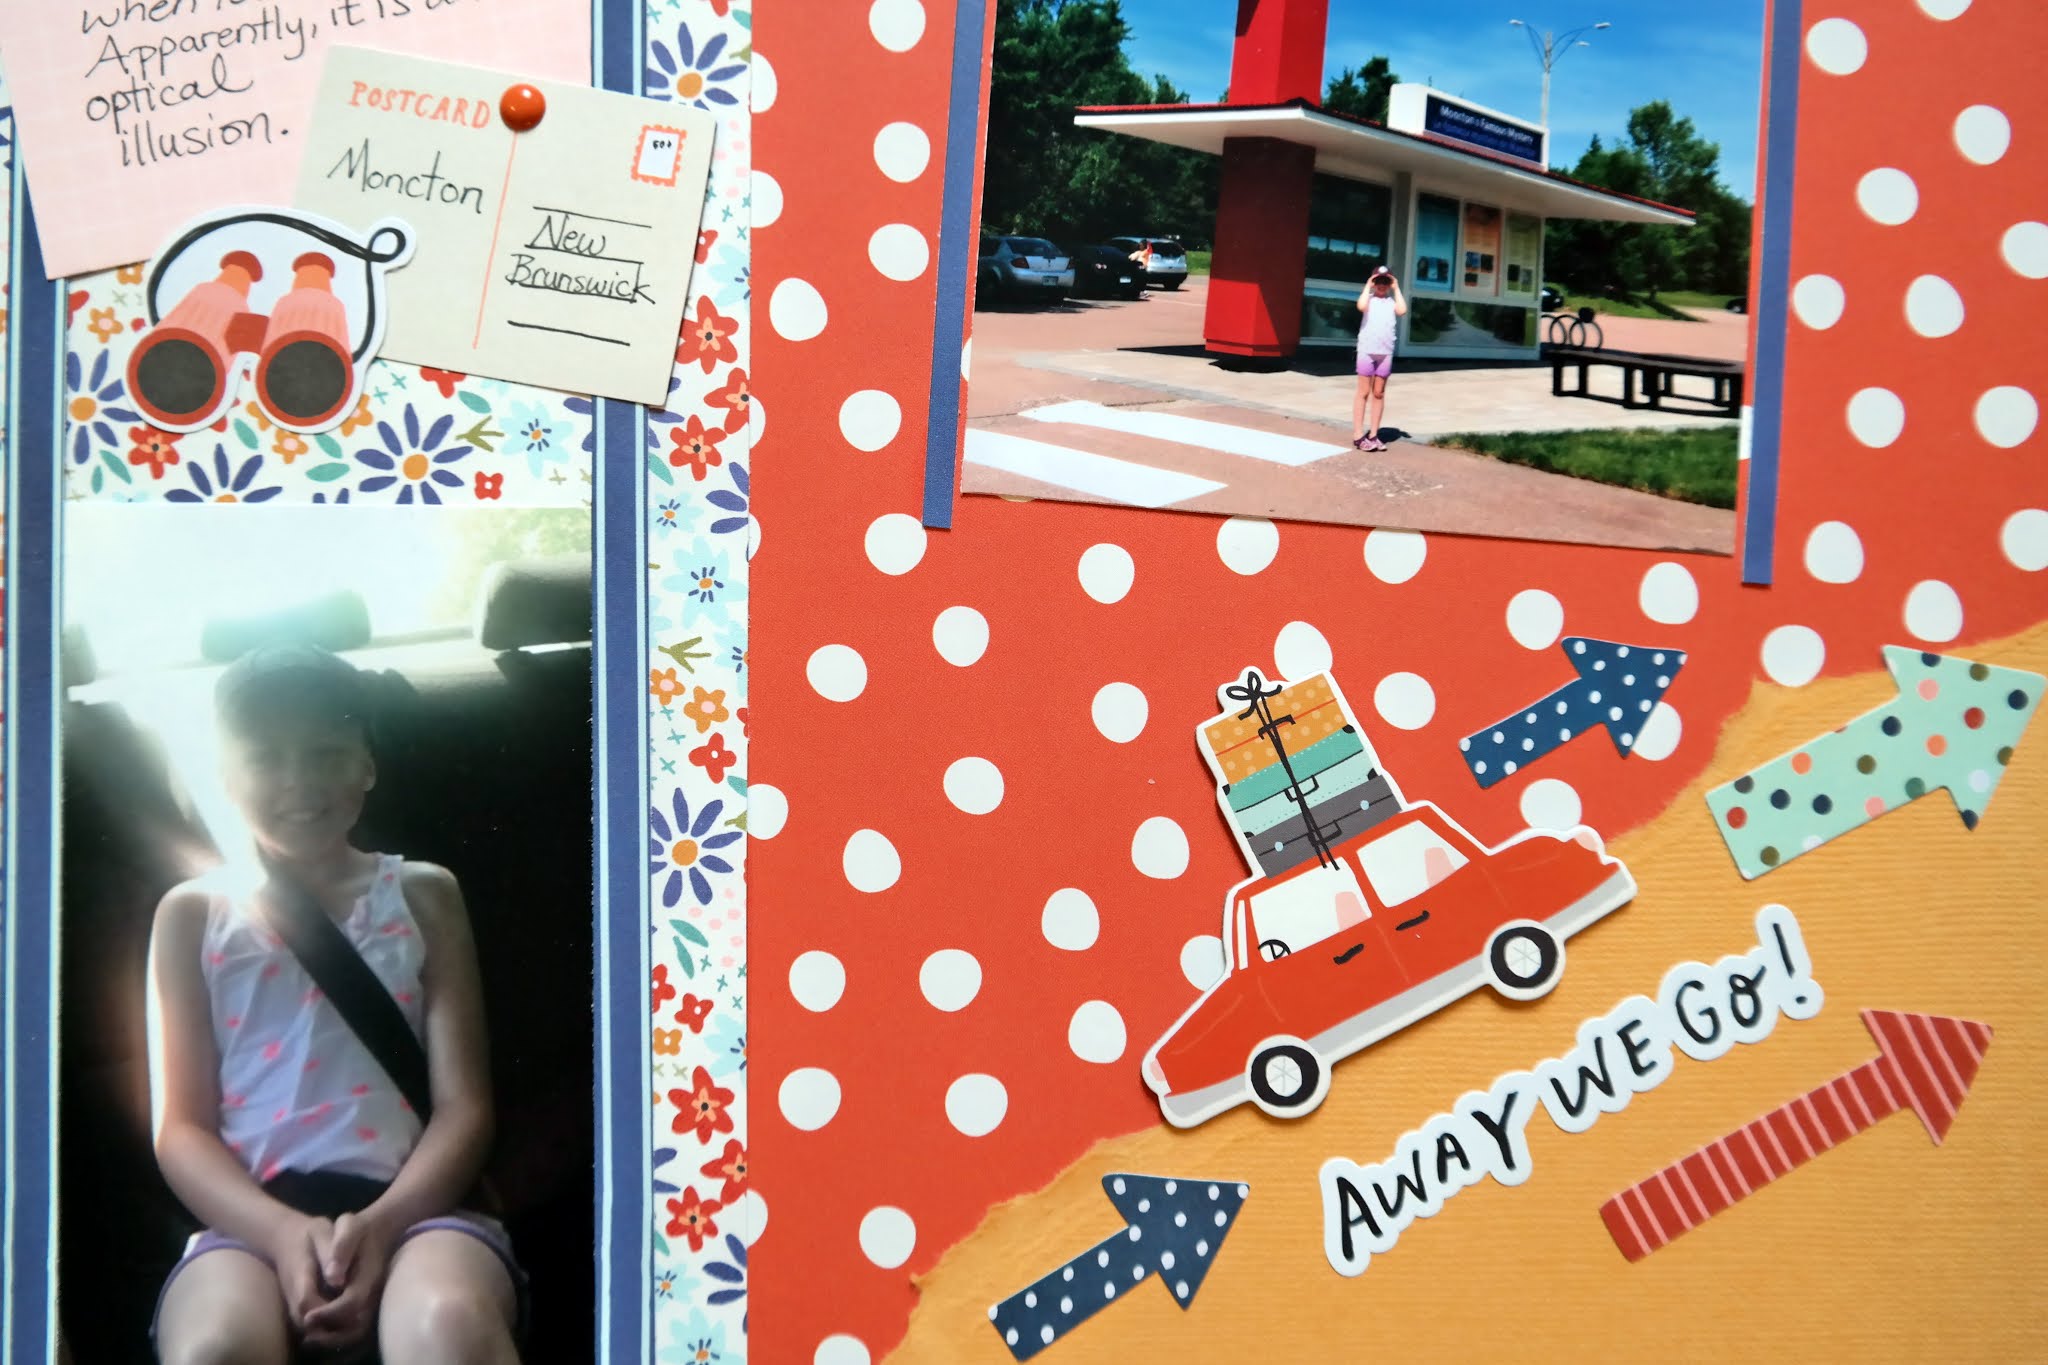
This layout was about Magnetic Hill which makes it seem like your car is pulled backwards uphill. I ripped some cardstock from a previous kit to make a hill and used all the arrow stickers to show it is going uphill. I also love those journaling cards and enamel dots to make it look like they are hanging on the wall. 


Layout #3


For this layout I used the Creative Scrapbooker Magazine May sketch as inspiration. 

This layout was fun to make. I layered cut files and papers and clustered the various types of stickers and die cuts. We didn't stick around for the highest tide but we were there long enough to see the difference and walk around on the beach so I wanted to highlight these pictures. The title alphas are from a previous kit. 


Bonus Layout

I was so inspired during the crop that I made one more layout with the March collection. This is the Carta Bella "Summer" Collection with some Vicki Boutin Thickers.


Thanks for taking a peek at my layouts. Have a scrappy day!

Thursday, April 29, 2021

Carta Bella Summer Take 2

  Hello again! I have one more Carta Bella "Summer" layout for Scrap Shotz to show everyone today (and I may have one more ready for the crop on Friday and Saturday! 


I used the Creative Scrapbooker Magazine April sketch as inspiration for this layout. It was an easy sketch to follow and worked so well with this background paper (the flower cart is part of the paper). 


I layered some chipboard, tags, stickers and fussy cut flowers to add dimension to the layout. The numbers I cut on my Silhouette Cameo. I made 5 text boxes, each with the correct number. Then I sized them until they fit the page. I didn't like how the pink paper didn't pop off the background so I outlined the edges of the numbers with a black Sharpie. I also had to get some enamel dots on there!


Don't forget to join us on Friday and Saturday in the Scrap Shotz Paper Crafting Group on Facebook for a virtual International Scrapbooking Day Crop. There are challenges, games and live demos. Can't wait to see you there!

Tuesday, April 27, 2021

Carta Bella Summer for Scrap Shotz Take 1

  This month I'm playing with the Carta Bella "Summer" Collection. It's full of small details and pastel colours. I made a layout and a birthday card and have some more goodies to show you on Thursday!


I saw this lemon paper and just had to use it with my lemonade stand picture from last summer. It's a pretty busy paper so I started with the title. I cut the yellow cardstock at the same angle as the lemons. The green title is a cut file in the Silhouette Store. I offset the title and cut it out again on white paper and pasted the green letters on top. The background needed something to bring focus to the picture so I drew a lemon on a white paper. I used distress ink and a blending tool to create the yellow on the lemon. I then used a black Sharpie on the edges to make the lemon pop. I finished off the layout with some frames, tagsstickersbrads and journaling. 


This kit is perfect for card making. There is a happy birthday tag in the cut apart papers that I used as my sentiment. The flowers are fussy cut from one of the kit papers. The centers are brads that add some shimmer. The final touch was to add a scallop border using a punch. 

Don't forget that International Scrapbooking Day is this weekend. We are having a crop Friday and Saturday in the Scrap Shotz Paper Crafting Facebook Group. Make sure to join the group and check out the crop album to see the rules, schedule and challenges. It's going to be so much fun with live demos and games throughout. See you there!